Dr. Dabber Vaporizer Pens: The Ultimate User Guide
Whether you’ve just received your unit or you’re looking to maximize your Dr. Dabber pen’s potential, we’ve decided to compile a step by step guide to help you get the most of your vaporizer pen. Please note this guide only applies to the Dr. Dabber Aurora, Dr. Dabber Ghost and Dr. Dabber Light. The Dr. Dabber Boost Guide will be posted soon.
Whether you’ve just received your unit or you’re looking to maximize your Dr. Dabber pen’s potential, we’ve decided to compile a step by step guide to help you get the most of your vaporizer pen. Please note this guide only applies to the Dr. Dabber Aurora, Dr. Dabber Ghost and Dr. Dabber Light. The Dr. Dabber Boost Guide will be posted soon.
1. Turning on/Charging your Dr. Dabber Vaporizer
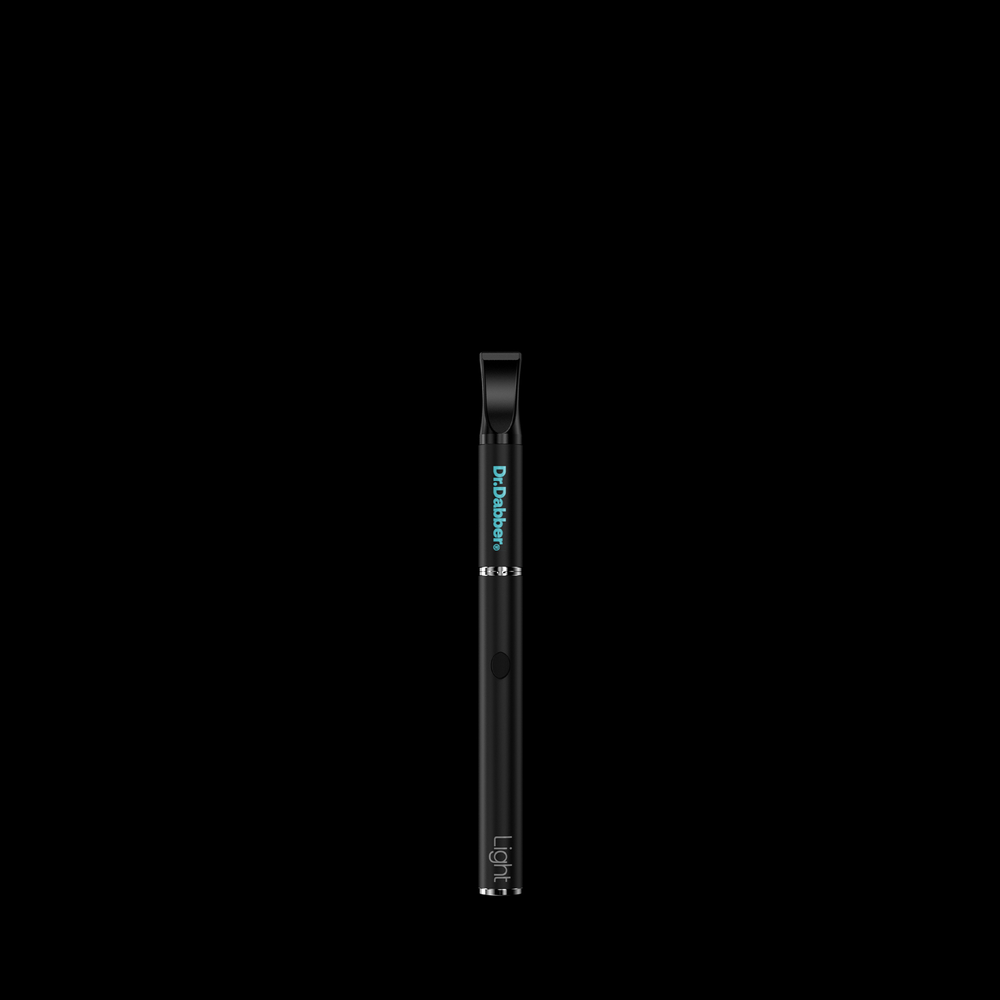
Upon receiving your unit, it should come with at least 50% charge out of the box, so we recommend turning your device on and using it until the battery dies before your first charge. Turn the unit on by pressing the button 5 times quickly. You should see a series of blinking lights indicating power status is ‘on’. Now simply press and hold the button to heat to heat the atomizer (heating coil). When you let go of the button, the atomizer will stop heating.
To charge your unit, unscrew the battery (Ghost and Light) from the atomizer, or pull the battery off the atomizer (Aurora). Then take the USB charger included in your kit, and attach the charger to your battery just as you would your atomizer. Once the battery is firmly attached to the charger, insert the other end of the charger (USB) into a USB port, or ideally, a USB AC Adapter. It is important to note that your device will charge significantly slower in a laptop or game console USB port, just as with other lithium ion powered electronics. We advise using a USB AC Adapter (not included) for the quickest charge.
When you attach the USB Charger to a power source, the light will glow solid red to indicate the device is charging. When the device is fully charged, the light on the charger will change to a solid green. You can then remove the battery from the charger and re-attach it to the atomizer, and you’re good to go! On to the next step!
2. Loading your Dr. Dabber Vaporizer
To load your unit, remove the mouthpiece and airflow shaft (the piece with the Dr. Dabber logo on it) from the atomizer so you can see the heating coil. If you have the Light, you can also simply remove the mouthpiece and leave the airflow shaft in place when loading (This is not advisable on the Ghost or Aurora).
Now you’re ready to load the atomizer. Using the loading tool included in your kit, apply a small amount of product to the spoon tip of the tool (we recommend no larger than a grain of rice) and carefully apply the product DIRECTLY onto the heating coil. The reason we emphasize this is because the chamber itself does not heat up, so any product on the side of the chamber or at the bottom will be wasted. We don’t want you wasting your product!
If you’re having trouble getting the product off your loading tool and onto the heating coil (too sticky, not sticky enough, etc.) you can press the button on your vaporizer pen very briefly while touching your product to the coil. By doing this you are sending a small amount of heat to the coil which effectively pulls the product off your tool and into the wick that the coil is wrapped around (Quartz atomizer and Halo atomizer on Dr. Dabber Aurora function in a slightly different way, but loading protocol is the same).
It is also very important to emphasize that the coil is a fragile component, and any damage to the thin titanium can break the connection on the atomizer, rendering it unusable. Do not use excessive force or pressure when applying product to the coil, avoid scraping product off your tool onto the coil and use the heat method in section c. above if you are having difficulty loading.
Keep in mind that the density of your vapor relies on an open air passage free of obstacles. There is an airflow hole at the very bottom of your atomizer, below the heating coil (These holes are on the side of your atomizer on the Dr. Dabber Aurora), and if you load too much product into the atomizer, you can block this airflow, which will either create a clogged feeling when you’re trying to inhale, or creating very wispy vapor. If you follow the directions above and always load small amounts directly onto the coil, you will avoid this issue completely. As appealing as it may be to load a day’s worth of product into your atomizer when you’re on the go, this will affect both the performance of your vaporizer pen as well as the longevity of your atomizers.
3. Using your Dr. Dabber Vaporizer Pen
Once you’ve loaded your atomizer properly, re-attach the mouthpiece/airflow shaft to your atomizer, and you’re ready to go!
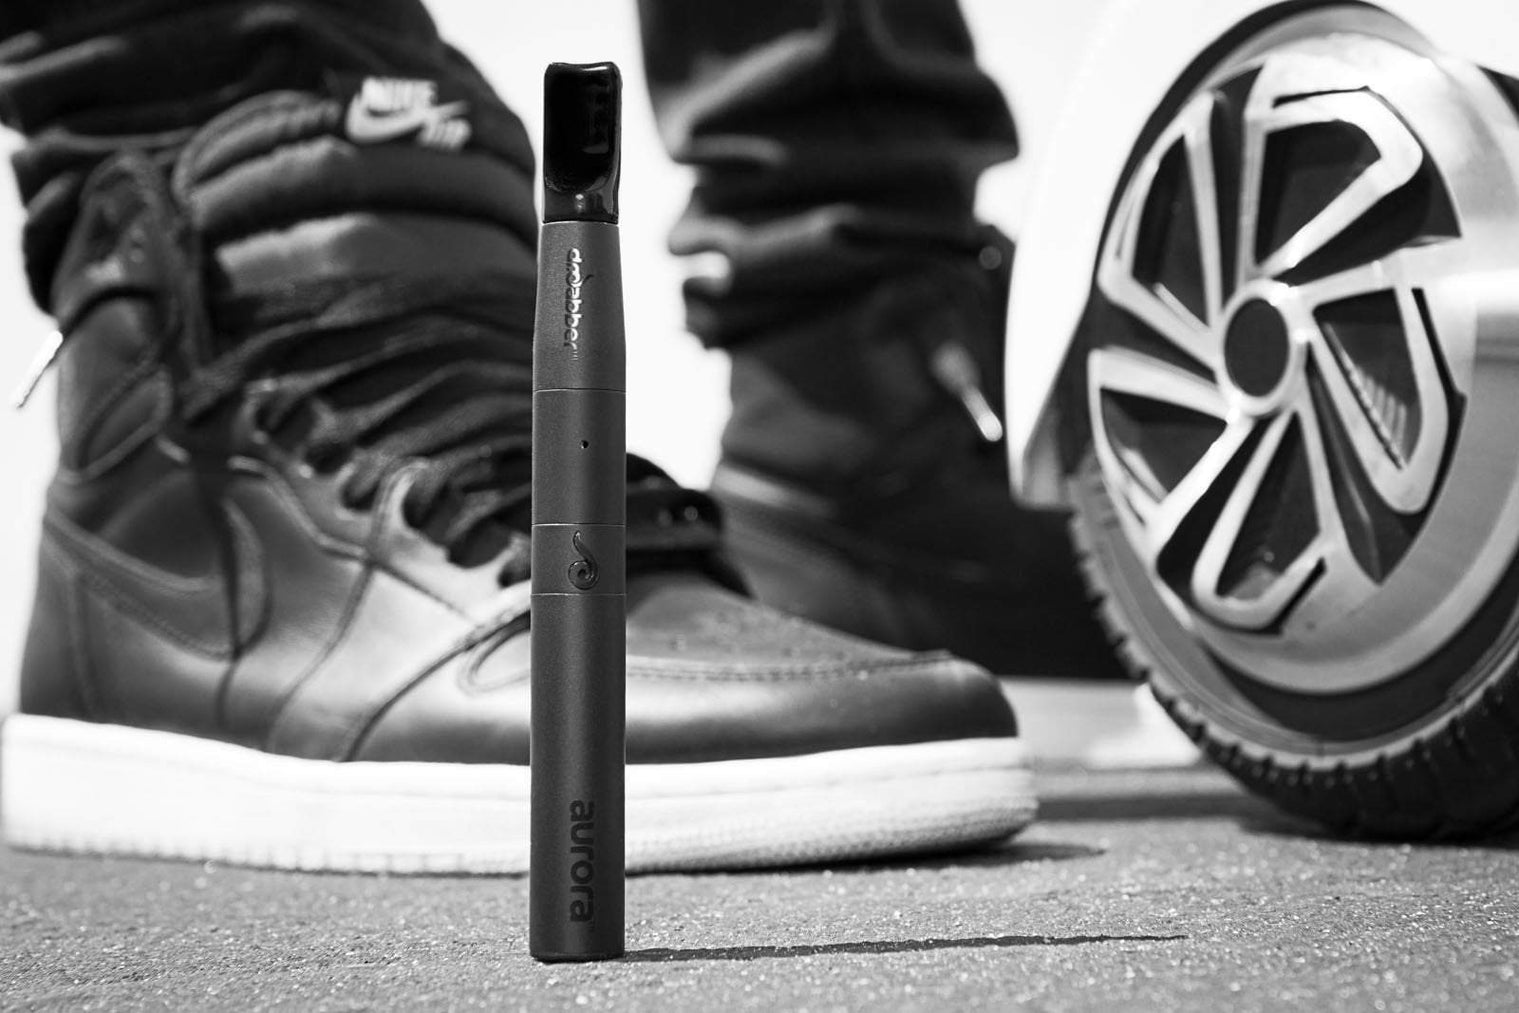
Simply put the mouthpiece to your lips, press the button and inhale for 4-6 seconds. You’re welcome to hold down the button for longer if you’re looking for a bigger draw, but keep in mind all our vaporizer pens have a 10 second safety cutoff, so the unit will turn off automatically at 10 seconds. This shutoff will be immediately followed by a blinking light sequence, so don’t be alarmed if this happens. This does not indicate a connection issue. It’s supposed to do that. Once the button stops blinking you can press and hold the button again for another draw. You do not have to pre-heat or hold down the button at all before taking a draw. Hold down the button and inhale simultaneously.
4. Travelling with your Dr. Dabber Vaporizer Pen
Just a quick note on transporting your unit without any issues. Please ensure to press the button 5 times quickly to turn off the device BEFORE putting it in your pocket or purse. This 5 click feature is specifically designed to avoid the unit inadvertently turning on.