


Your cart is empty.
${ item.title }
$ ${item.price}

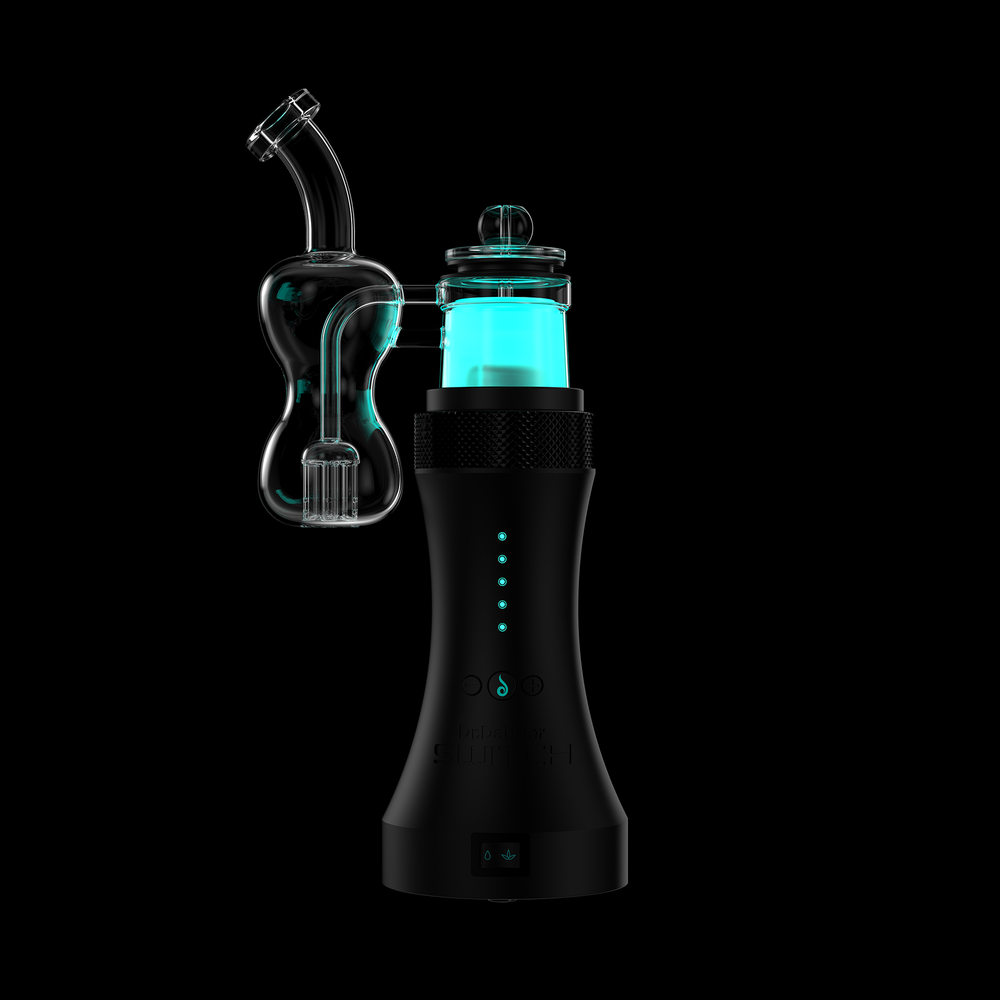
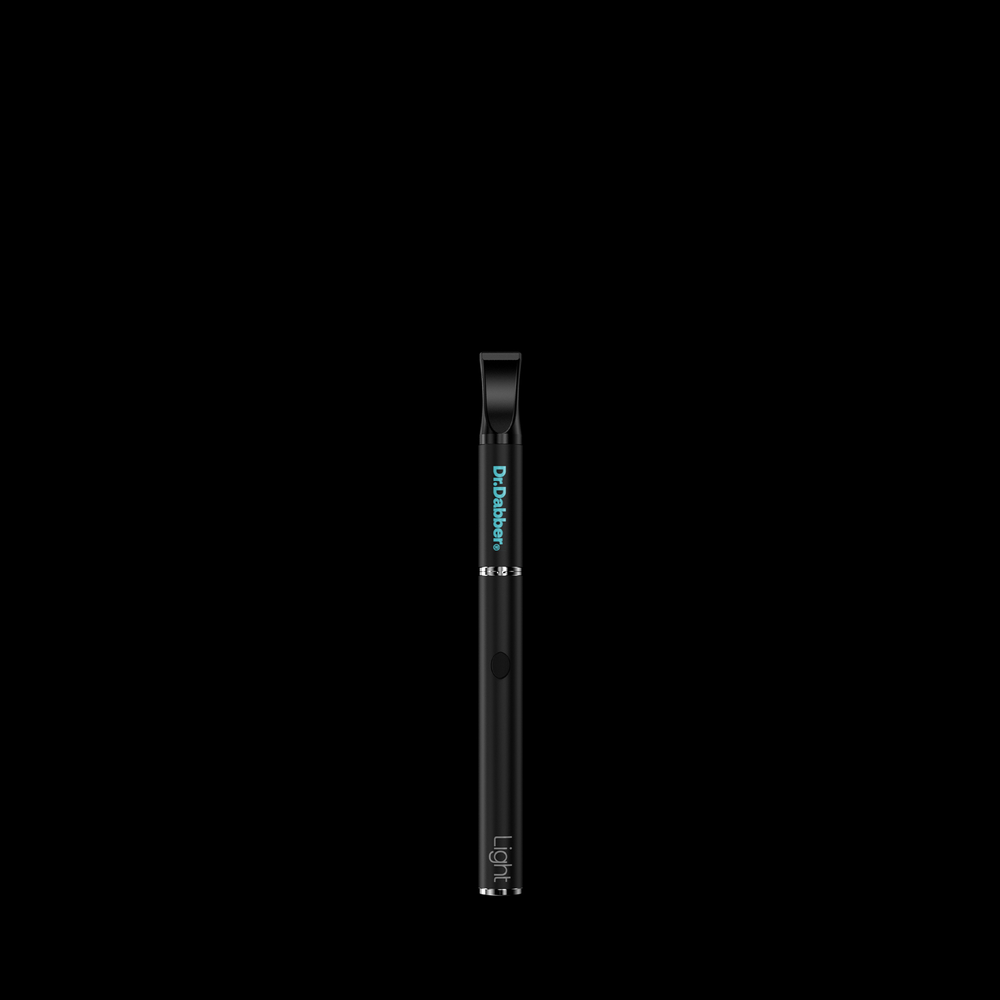
If you’ve recently invested in a vaporizer—or if you’re just curious about keeping yours in top shape—you’re in the right place. If you’re not sure how to clean a vaporizer, it can seem like a chore, but it’s actually a key part of getting the best performance and flavor from your device. Whether you’re new to vaping or a seasoned pro, maintaining your vaporizer is crucial for ensuring each session is as smooth and enjoyable as possible.
In this guide, we’ll walk you through how to clean a vaporizer with easy-to-follow instructions and tips to make the job a breeze. From disassembling your device to scrubbing away stubborn residue, we’ve got you covered. Think of this as your go-to resource for keeping your vaporizer in peak condition, so you can focus on enjoying your favorite sessions.
To ensure a thorough and effective cleaning of your vaporizer, it's essential to have all the right tools and materials on hand. Here's a detailed list of what you'll need:
Having these supplies on hand will make the process much smoother and ensure that you get every part of your vaporizer thoroughly cleaned. To eliminate a few of these steps, grab a pack of Iso-Snaps Cotton Swabs from Dr. Dabber. With 70% isopropyl alcohol loaded into each swab, you can remove vaporizer residue and debris in just a few swipes.
Remember, regular maintenance with the right tools will keep your device performing at its best.
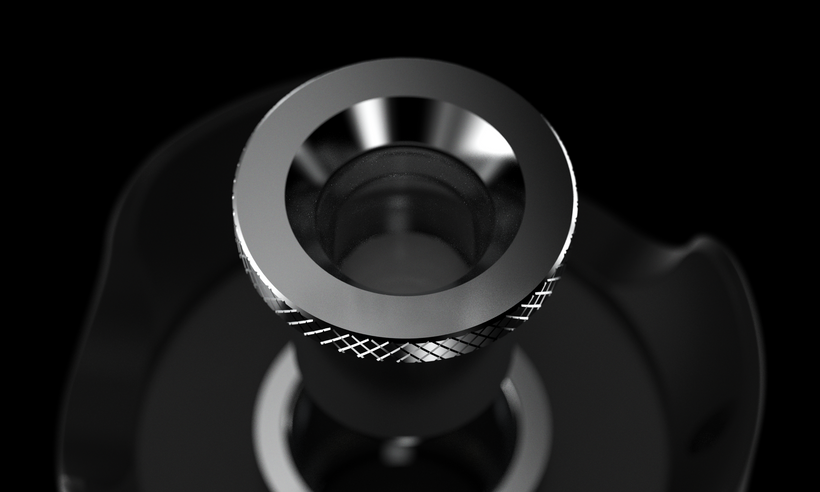
Start by carefully taking apart your vaporizer. Remove the mouthpiece, any screens or filters, and the herb chamber or concentrate dish. If there are other detachable parts, take those off too. Lay everything out on a clean surface so you can easily keep track of where each piece goes. This setup will make the reassembly process smooth and hassle-free.
Next, let’s tackle any leftover dry herbs. Use a small brush or tool to sweep out any remnants from the herb chamber. If there's a lot of buildup, gently tap the chamber to dislodge stubborn bits. For concentrate users, carefully remove any leftover wax or oil from the dish or atomizer using a dab tool or cotton swab. We want to start with a clean slate!
The vapor path is crucial for a smooth vaping experience, so it’s time to give it some TLC. Use a pipe cleaner or a cotton swab dipped in isopropyl alcohol to gently clean the vapor path. Be careful to avoid any damage to delicate parts. If your vaporizer has hard-to-reach spots, use a small brush or air blower to get rid of any lingering residue.
Now, mix up a cleaning solution with isopropyl alcohol and warm water in a container. Soak the removable parts like the mouthpiece, herb chamber, and screens. Let them soak for about 30 minutes to an hour. This step helps loosen and dissolve any stubborn residue, making your scrubbing job a lot easier.
After soaking, it’s time to get scrubbing! Take the parts out of the solution and use your cleaning brush or toothbrush to scrub away any remaining residue. Focus on areas with visible buildup, especially screens and filters. For tricky spots, use a cotton swab or brush dipped in alcohol to get into the nooks and crannies. Gentle scrubbing will ensure you don’t damage any parts.
Once you’ve scrubbed away the residue, rinse each part thoroughly with warm water. This step removes any leftover cleaning solution or alcohol. Just be cautious with electronic components—avoid getting water on the battery area or any parts that aren’t meant to be wet. Thorough rinsing ensures there’s no cleaning agent left behind to affect your vaping experience.
After rinsing, pat all the parts dry with a soft cloth or paper towels. Make sure everything is completely dry before reassembling. Moisture can cause damage or affect performance, so let the parts air-dry fully to avoid any issues.
Don’t forget the battery connection! Use a cotton swab lightly dipped in isopropyl alcohol to clean the battery contacts. This helps maintain a good connection and ensures your vaporizer works perfectly. Avoid getting alcohol on any non-metal parts and let the connection dry completely before putting everything back together.

By following these steps on how to clean a vaporizer, you’ll ensure that your device delivers the best performance and flavor every time you use it. Regular maintenance is key to a satisfying vaping experience, and with these easy-to-follow instructions, you’ll find it’s a straightforward process that’s well worth the effort.
Ready to put these tips into action? Start by grabbing Dr. Dabber’s Iso-Snaps cotton swabs – the premiere pre-dipped cleaning tools for the perfect vape cleaning experience. For more helpful tips, exclusive product updates, and the latest in vaping technology, make sure to check out our other blog posts and subscribe to our newsletter.
If you have any questions or need further assistance, feel free to reach out to our support team or join our dabbing, community on social media. Happy vaping, and here’s to many more enjoyable sessions with a perfectly maintained vaporizer!
Copied!
Your cart is empty.
$ ${item.price}